

What is a Mind Movie?
A mind movie is an audio-visual representation, similar to a vision board but using a computer consisting of a collection of photos and images you choose reinforced with positive affirmations and positive music make it about 3-4 minutes long – Where do I get the pictures from for the mind movies? You can use any pictures of yourself families, or even off the internet.
Do a search on google for say a house you want for example a 7 bedroom detached house with the country and area you want and click on images. You can literally search for whatever you want and wherever you want – Country side properties, beach properties, mansions, BMW, Porsche, Money, and Rolex watch…an ever ending list of items….
Once you find the image you like just click on it and choose to save as – choose a name and save it into a folder you’ve already created. Tip if you hover your mouse over the image it will turn into a hand and give you the dimensions of the image you don’t want less than 500 x 500.

Finding Music for the Mind Movies
This is considered an important aspect of your mind movies as the music you want has to make you feel uplifted and positive use heavy base music for this, as this has been found to uplifting and motivational. You should be able to find plenty of music samples for you mind movies the same way you’ve found your pictures simply do a search on google for sample music or from what music you already own.
You can use any music you want, anything that makes you feel good and inspired you don’t want anything that will make you feel depressed or sad. For example when I want to train l love listening to the Rocky film theme Eye of The Tiger.
Windows 10
How to Create Your Mind Movie
If you’re running Windows 10 you can use the Photos app to create your mind movie. If you’re using Mac or an iPhone or iPad check out this article Mind movie on iPhone.
Step 1
The first step is to get your photos and music and put into a folder together call it something like mind movie. For my example I used pictures of an house I found online for this guide.
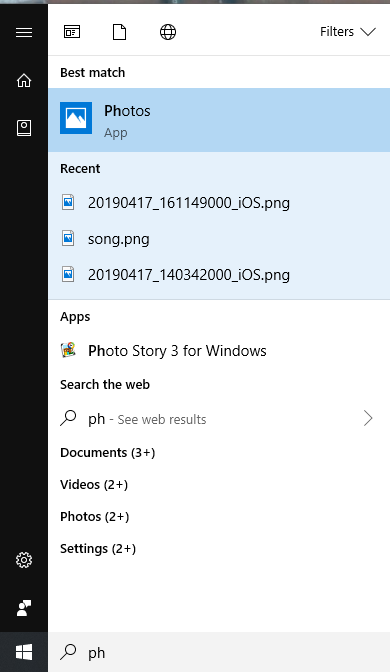
If you click on your start menu and start typing Photos you’ll see it in your list.
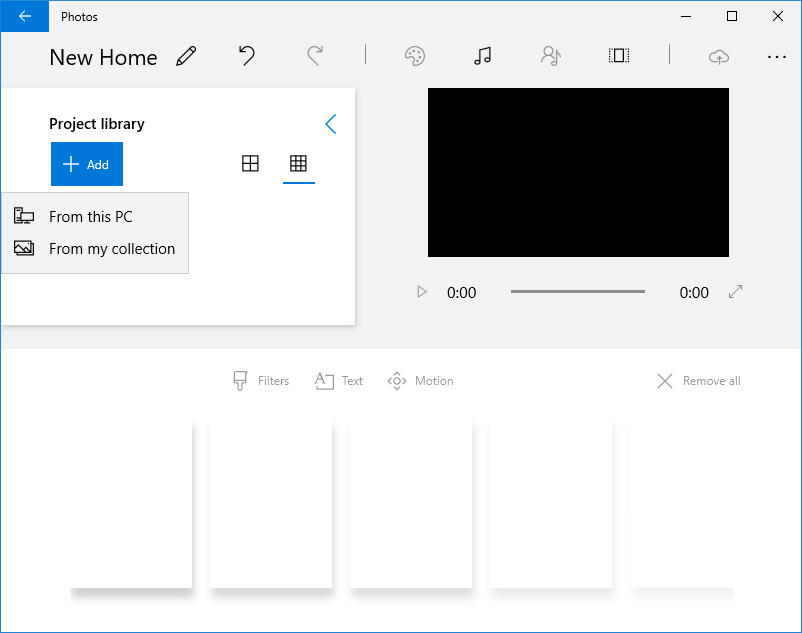
Click on Photos to open. The following window will open up click “Video Projects”. As I’ve previously created a project it’s showing the preview of this.
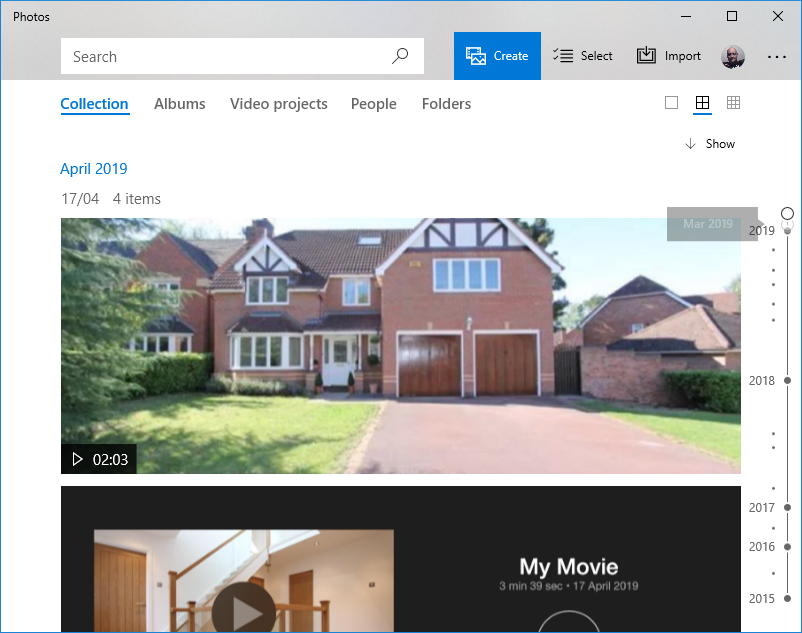
You will then see the window below:
Step 2
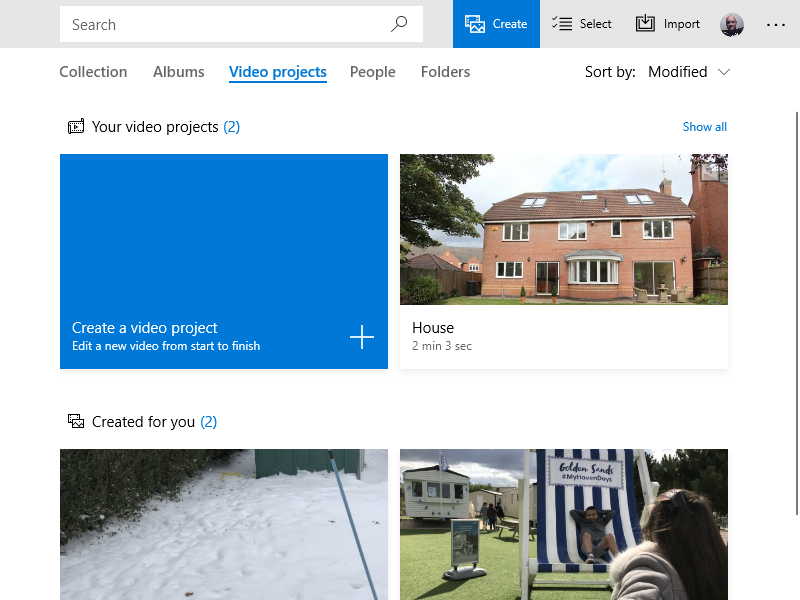
Creating a video project click “Create a Video project” highlighted in the blue box to bring up the window below:
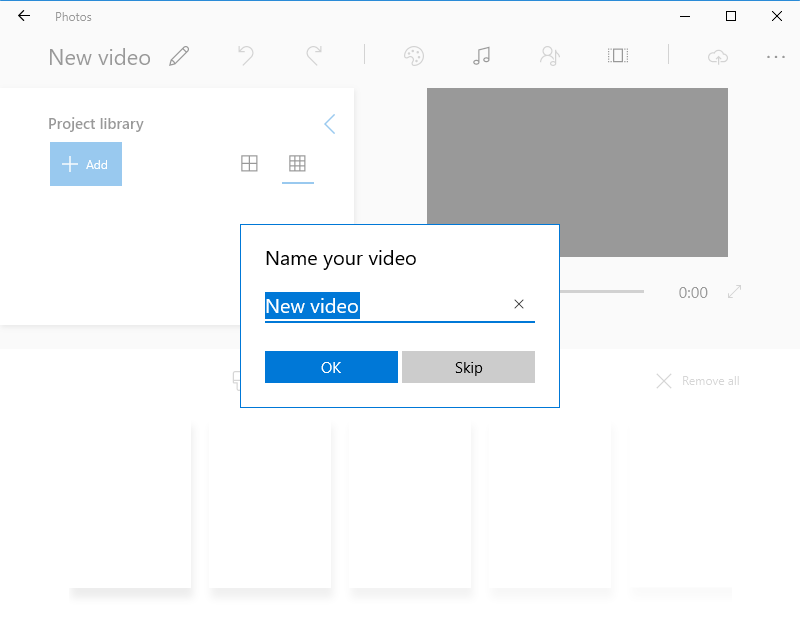
Enter a name for your project then click the add button.
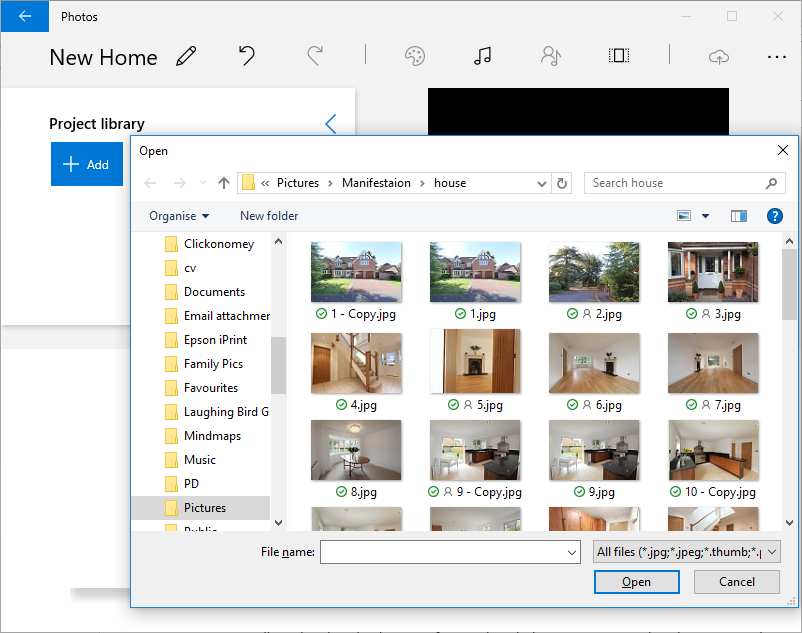
Click the option “From this PC” and navigate to the folder where the folder for the pictures is that you want to use for your mind movie.
Tip: if you want to use all the pictures in your mind movie from the folder click just on one picture then press and hold CTRL key then press the letter ‘A’, this will select all the pictures, as below:
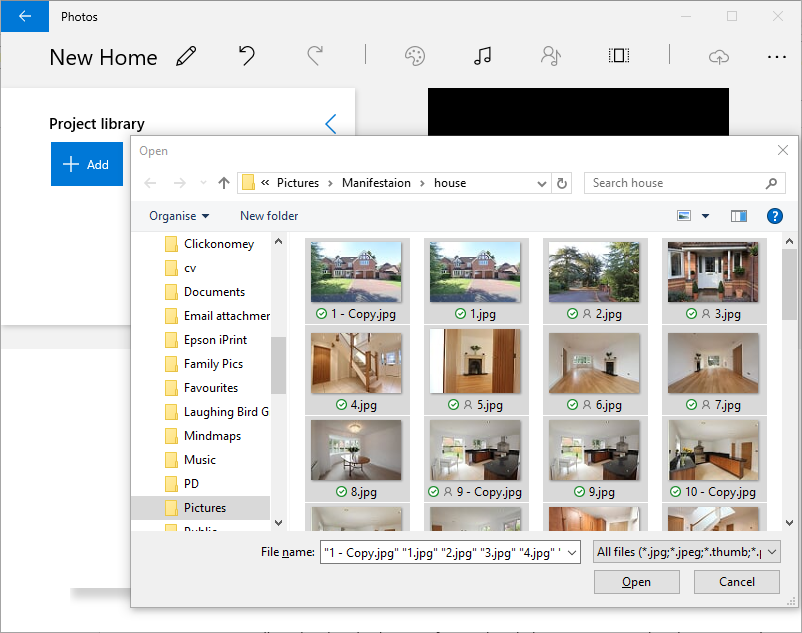
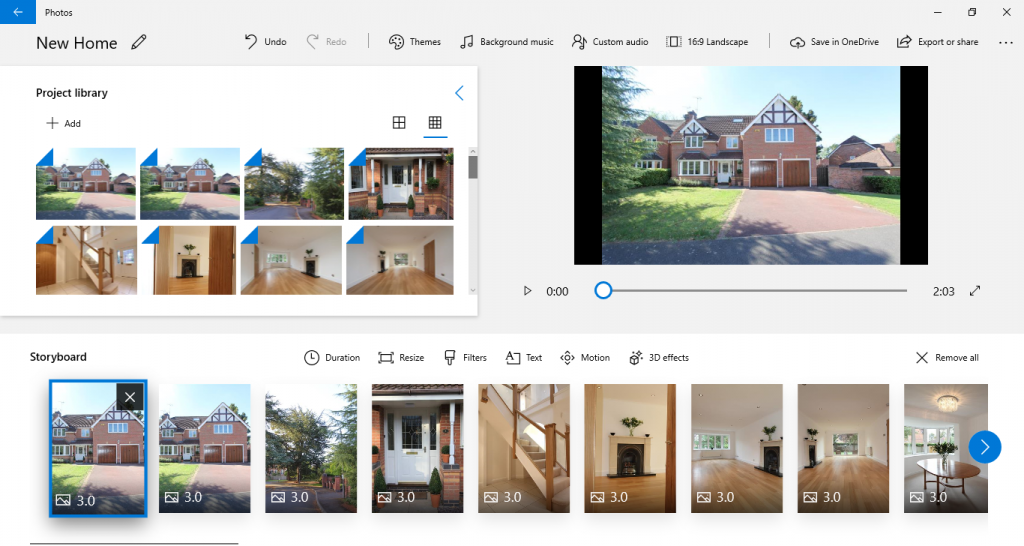
Click “Open”. To import the pictures into the Project library
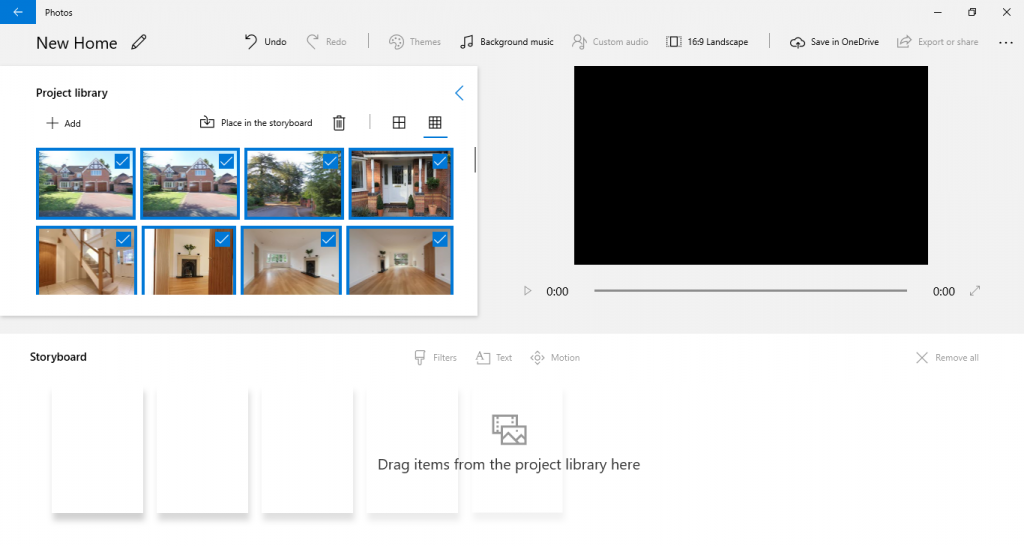
Click “Place in the storyboard” to add to the bottom pane “Storyboard”.
Step 3
Adding you affirmations to the pictures select the pictures 4-5 between each one and add your affirmations. Select the “Text” option.
From here you can add you text and affects.
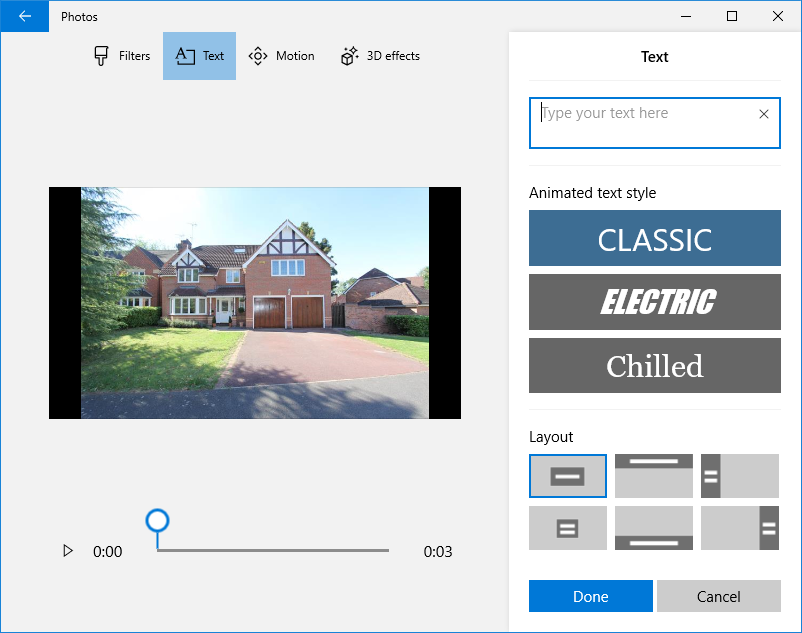
Type the affirmation you want choose the animated style for the text and how you want the text to appear on the picture (Layout). In the below example I’ve chosen the chilled style with the bottom option for the text to appear.
Repeat the steps to add the affirmations where you want and to apply the effects for the text.

Step 4
Removing the black borders – To remove these you need to select the picture you want to remove the black border from and choose “Remove black bars”. As below:
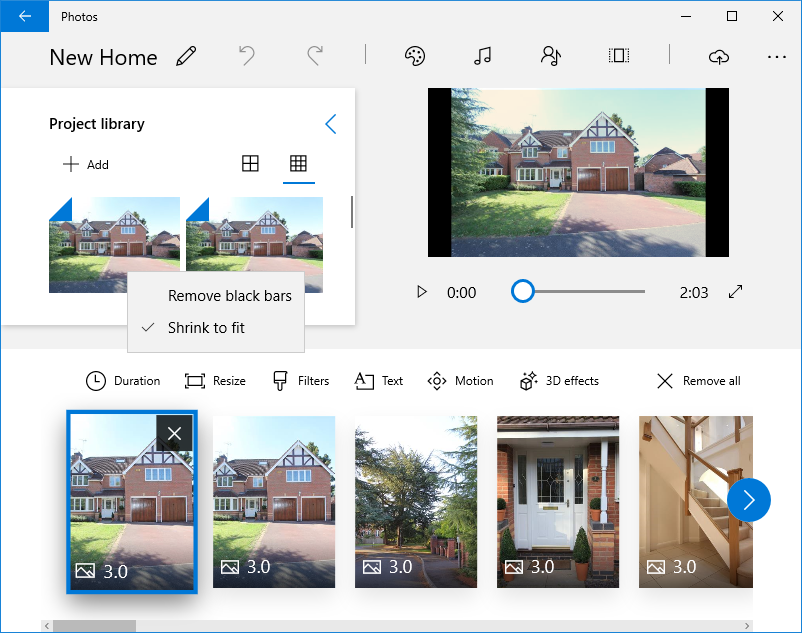
You have to do this individually for each picture, unfortunately you can’t select them all and do this all in one go at the time of putting this guide together.
Step 5
If you want to add further effects to the pictures select the picture first you want to apply the effect for this we using “Motion” option then select what effect you want to be applied to the picture, again remember this will only apply to the selected picture so, if you want to apply to all the pictures you will need to go through one by one to apply this or alternatively you can skip this step and leave as the default of “None”.
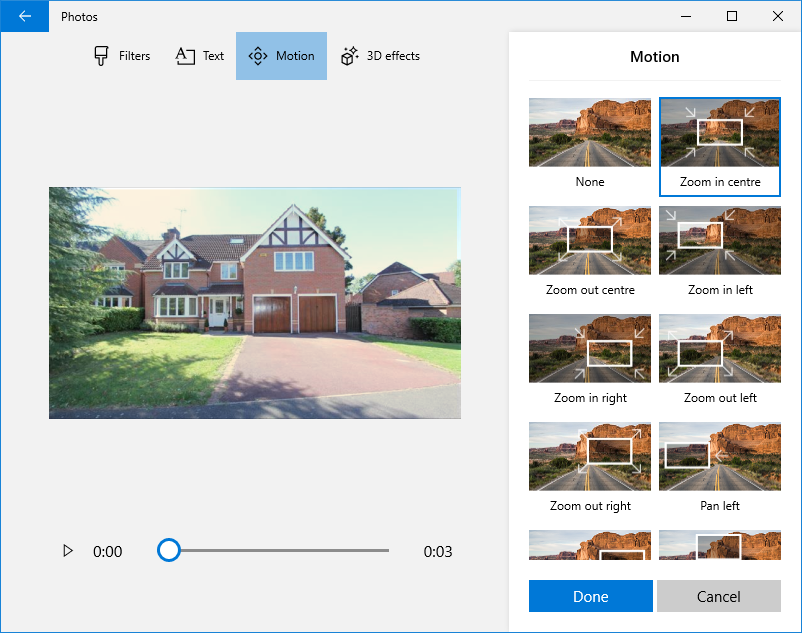
When you have this how you want click the “Done” button.
Step 6
Music – now it’s time to add the music at the top next to click the music icon as below:
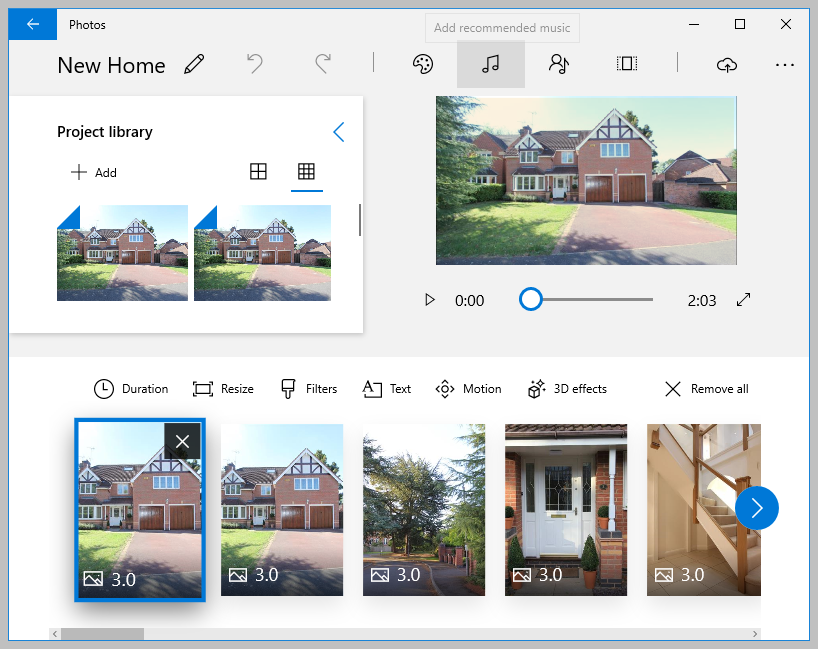
You will be presented with the below window:
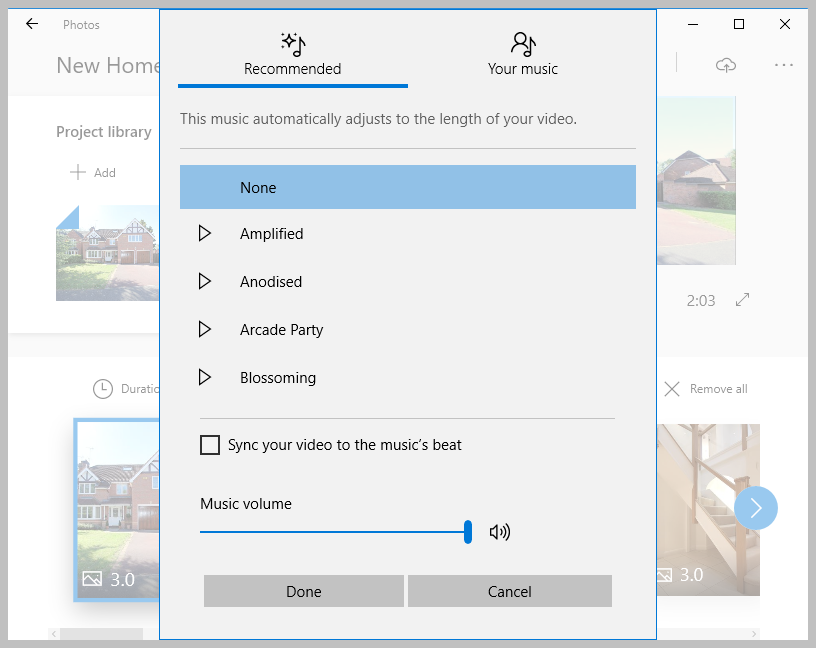
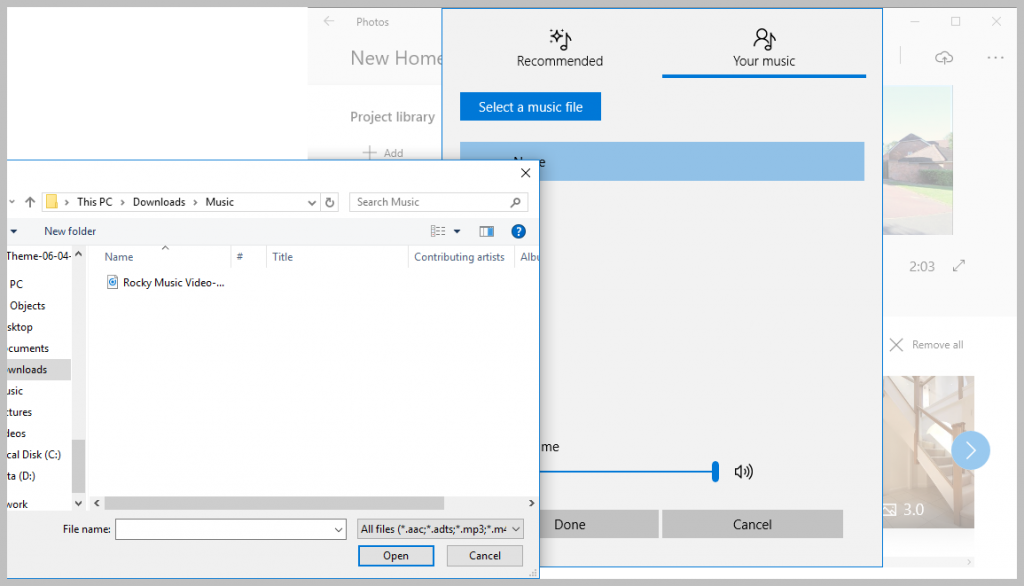
Select “Your music” to add you own music track to the mind movie. And browse to the folder with your music you will be using for your mind movie. Select the music and click open or just double click the audio file.
You should then have the below screen showing:
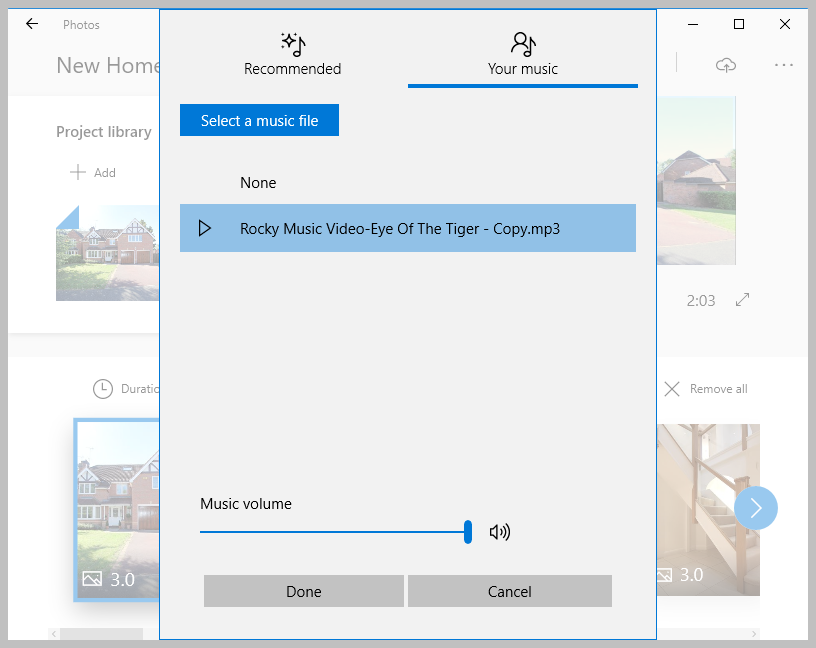
Click “Done”.
Step 7
Tweak and Test – Now click the play button and you should now hear the music while watching your video preview, Windows Photos automatically syncs the music with the video you’ve done so when the video ends the music fades out, check through the video to make sure it looks the way you want it if not go back and edit anything you don’t like.
Step 8
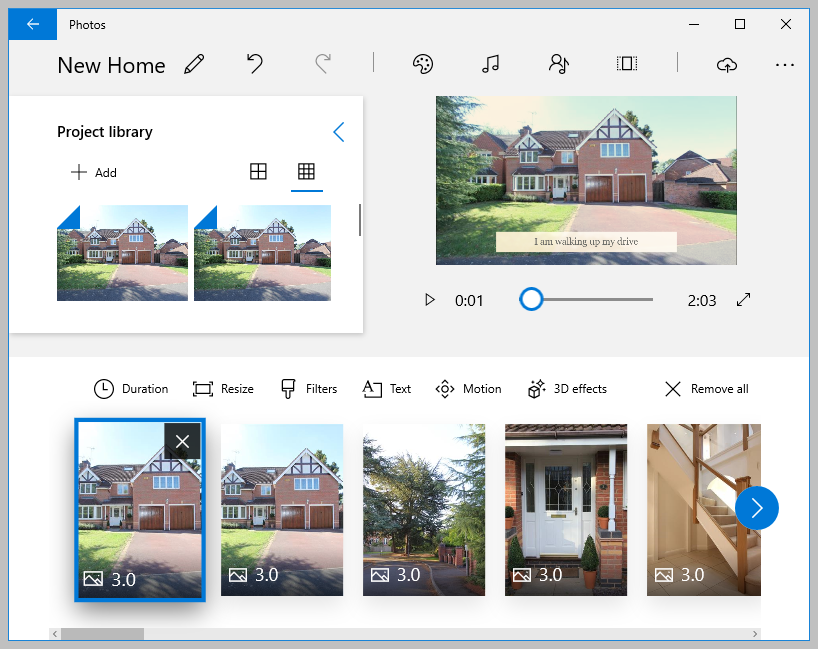
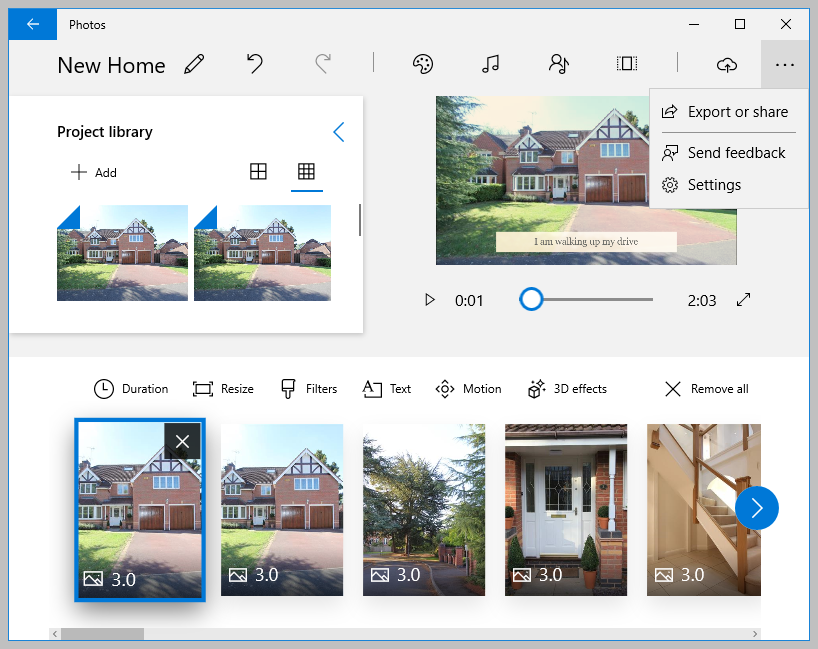
Export – Now for the last part, after checking everything is the way we want it click on the three dots to bring up the option to export. Select the option to “Export or share”.
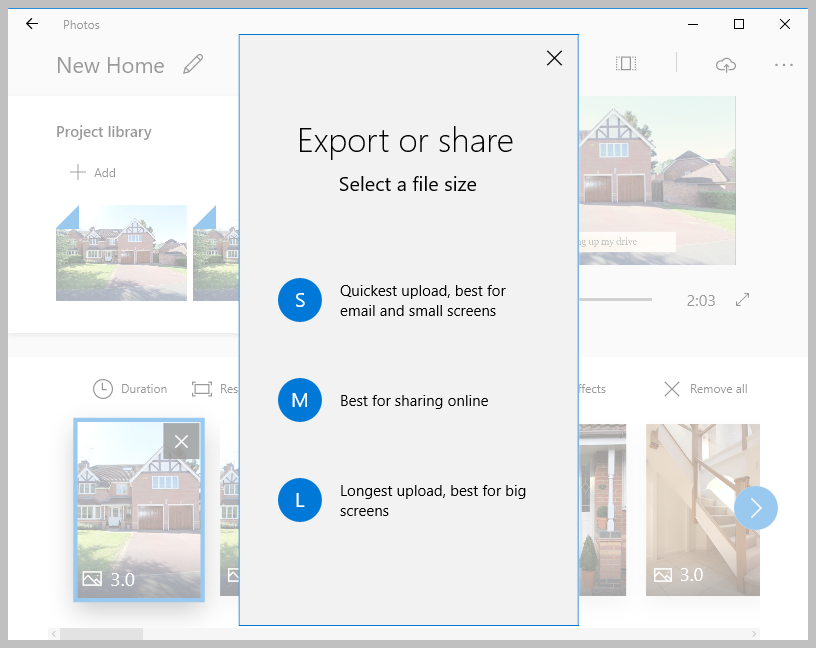
Select the option you want from the menu, I chose the first option, S Quickest upload, best for email and small screens…
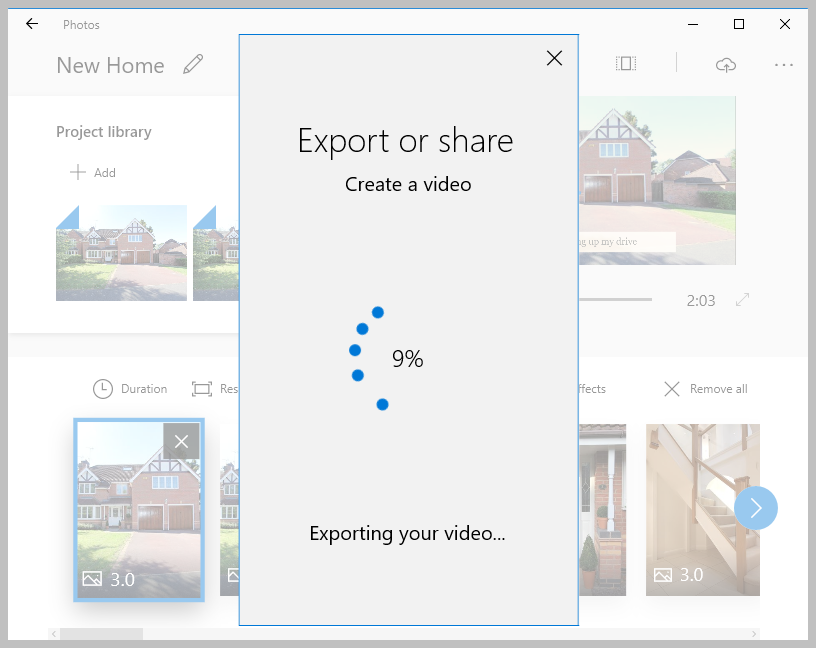
After clicking this option you see Photos creating your new mind movie.
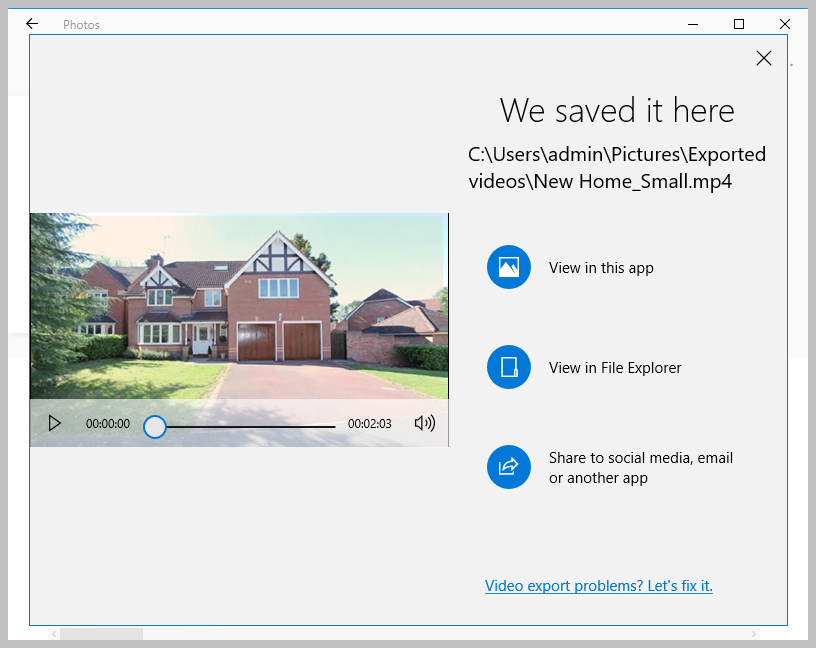
After this is completed you should get a message that the video has been created and the location, here make sure to note the path in mine it’s in my pictures\exported videos folder.
Phew all done. Give yourself an applaud, it may take you a few attempts to get this correct but with a little practise you’ll get the hang of it.